

Quick Tips

How to use our Referral Program to Earn 1,000 Latte Reward Points
Earn more Latte Reward Points through our Referral Program so that you and a friend can enjoy more coffee, here's how it works.

3 Easy Upgrades for Better Espresso
Learn three easy upgrades you can make for better espresso.
Office Coffee for Millennials
So the workforce is changing. Turns out guys like me born at the tail end of the baby boom, well our days are numbered. Also numbered are the days of...

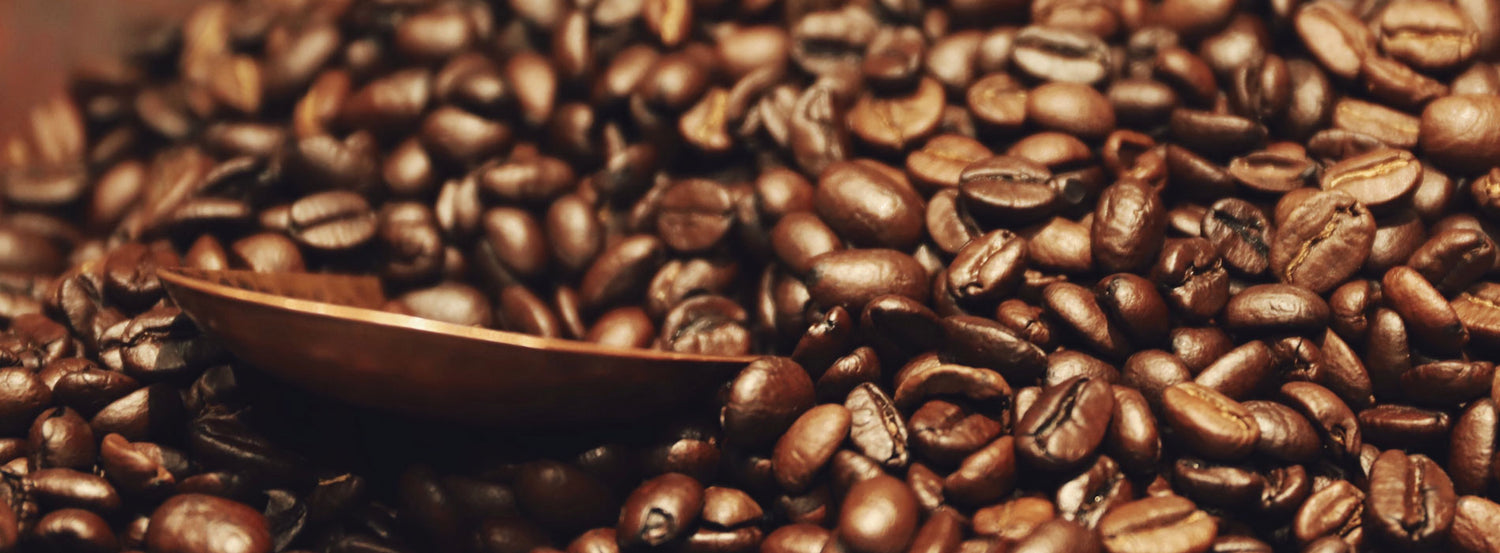
How To: Coffee Packaging - Why is it Puffy or Not Puffy?
So we ship literally tons of coffee and every once in a while a customer asks: Hey how come the last bag I got felt like it was vacuum packed...

Should I Leave my Espresso Machine On?
Should you leave an espresso machine on all the time or turn it off when not in use? Marc shares expert advice from Michael Hauck, designer/engineer of the Profitec Pro...

Espresso Machines for Beginners
You're tired of waiting in long lines every morning for your latte so you've decided to become your own home barista. Well here's what you need to know about home...

Upgrading from a Single Boiler Espresso Machine
So you got into home espresso with a single boiler machine. It was relatively cheap and easy but after using it for awhile you’re tiring of the wait involved when...
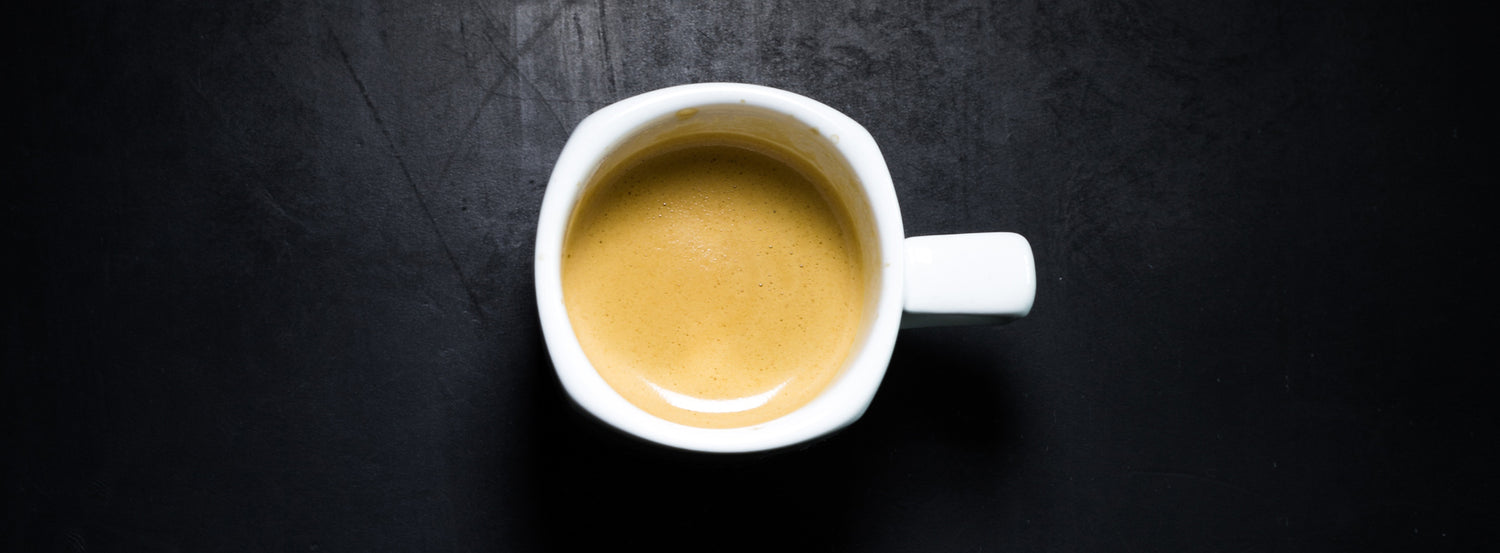
Espresso Crema
Crema is the tiny bubbles that form when you're extracting a shot using an espresso machine. When you see crema you know you are getting a great shot of espresso....

How to Clean Automatic Espresso Machines
Here’s a quick guide on cleaning your espresso machine including tips for cleaning automatic espresso machines and answering your questions about using vinegar!

Beginners Guide to Coffee Grinders
The purpose of this section is to let you in on all the little things that you don’t normally hear about coffee grinders. I may be a little long winded...
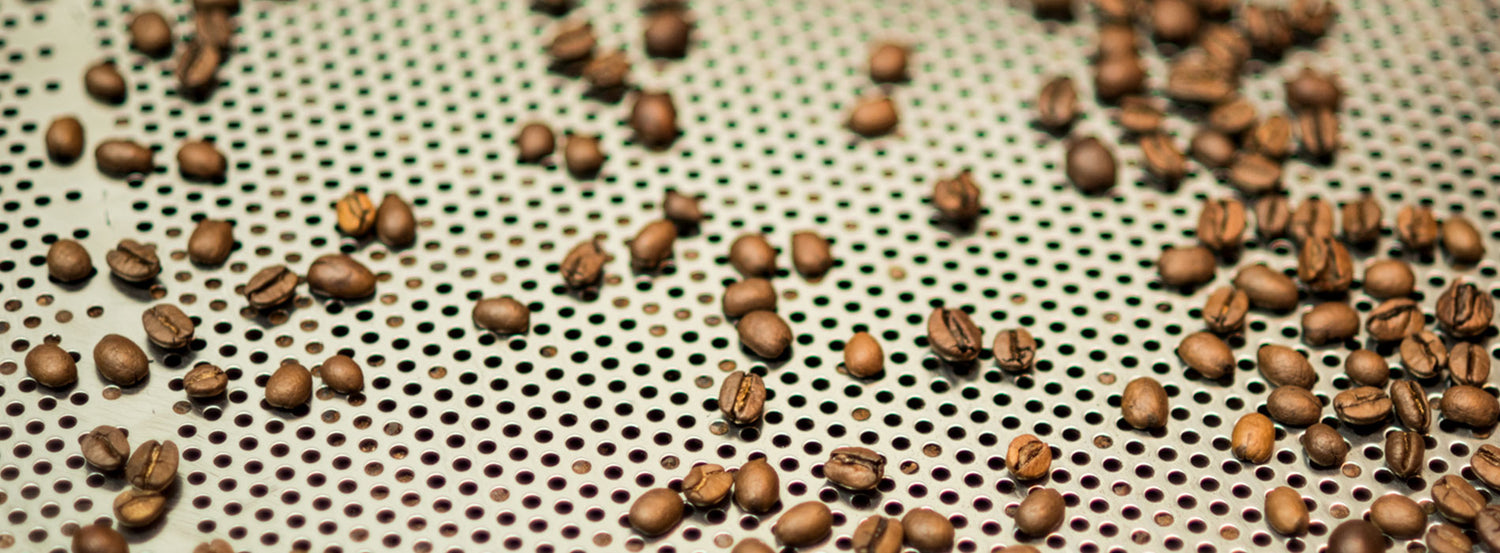
How Coffee is Decaffeinated
Decaf coffee is made using one of three popular methods, Swiss Water, Solvent, or Carbon Dioxide, to strip up to 99.9% of caffeine out of coffee beans.

Should You Rinse Paper Coffee Filters?
Papery flavors, chlorine aftertastes from bleaching... If you're serious about your coffee, these are the things you DO NOT want in it. But did you know those 3 things could...