 USA
USA


Crafting Espresso Drinks With Brewista
Whether you’re new to the world of espresso or a seasoned pro, it’s important to have the tools to help you pull great shots and craft delicious lattes. Brewista’s espresso accessories are designed with little details to enrich the barista experience, and as a complete beginner to the world of espresso, I really enjoyed trying these products out.
Brewista as a brand has been working since 2014 to create products that meet the needs of the coffee industry, whether that means products for hobbyists or coffee pros. I took a look at their espresso accessories, including the Smart Scale II, the Precision Frothing Pitcher, and the Nasty Jug, to find out what features stood out to me as well as what might make them the right products for an espresso enthusiast. I used a Eureka Mignon Silenzio Grinder to get the right consistency for my espresso as well as the Gaggia Classic Pro to pull shots and steam milk. Here’s what I discovered while using the Brewista espresso products.
Dialing In With Brewista

Grinding espresso with the Eureka Mignon Silenzio.
The first step in any successful espresso extraction is making sure that you have the right amount of coffee for your shot. For the Gaggia Classic Pro, you want to have around 14g-16g of coffee for a double shot in the double shot basket that comes with the Classic, so I aimed for 16g in for my shots. I used a few different coffees while dialing in, but I settled on using the Whole Latte Love Crema Wave because I really enjoy the nuttiness of the coffee (also, I ran out of the other small-batch home-roasted coffees that I was using while experimenting with pulling shots). Once I dialed in the grinder to the consistency you can see below, I played with the adjustable timer on the Eureka Silenzio to grind out close to 16g of coffee every time.

Using the Smart Scale II to weigh coffee for an espresso shot.
When I was still getting the automatic timing of the grinder right, I was weighing my grounds every time on the Smart Scale II using the included silicone pad. The silicone pad not only helps with grip so the portafilter wouldn’t slide or move, but it also helped evenly distribute the weight on the pad to make sure there was an accurate reading every time. I had the scale set to mode 1, which is fully manual and means you have to hit the buttons to tare the scale and start the timer. Once I tared the scale with the portafilter on there, it didn’t reset while I ground the coffee, which was an issue I encountered with the earlier version of the Smart Scale. I used the original version because it wasn’t in use at our office, and after using the Smart Scale II I can see why the new and improved version is preferable.
Brewing With the Smart Scale II
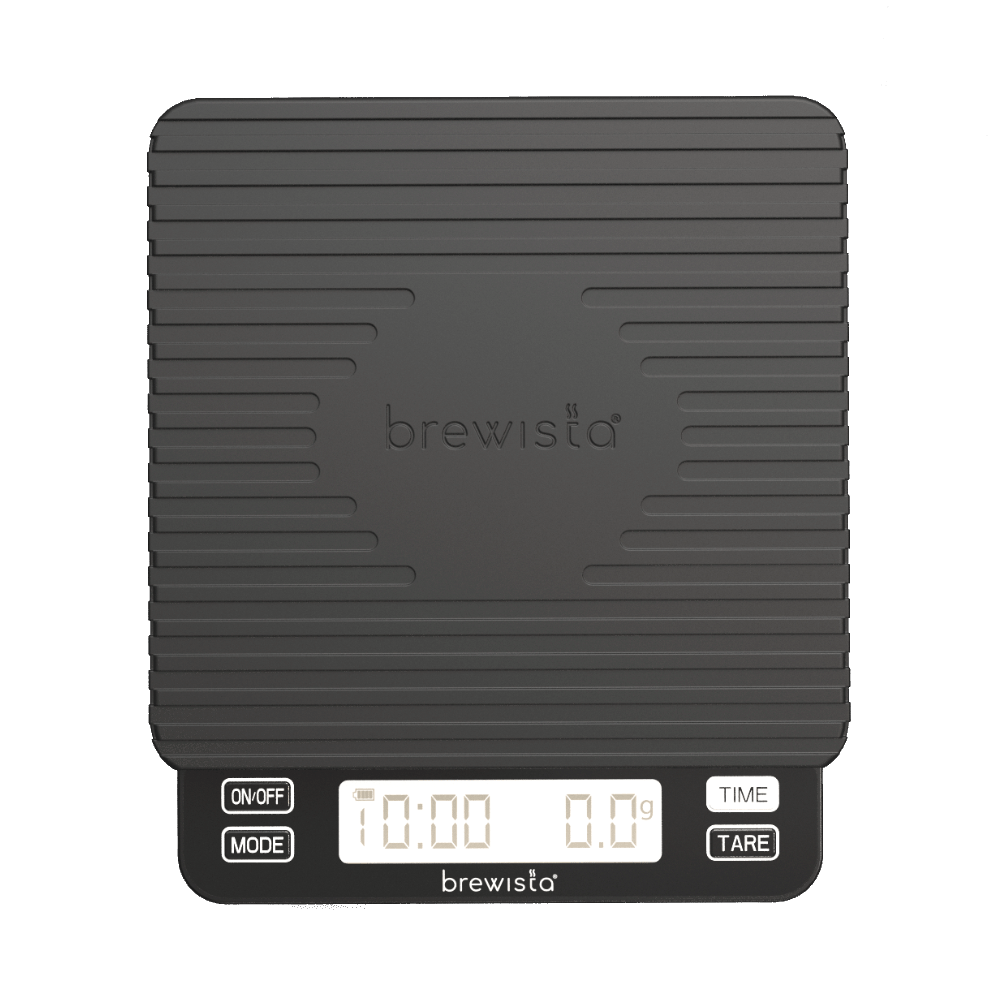
$79.95
Once I weighed out my grounds, leveled, and tamped them, I was ready to pull my shot. There are two different modes on the Smart Scale that I used for weighing and timing my espresso shots, and I can see the advantages of each one. Mode 2 will automatically tare a cup when it’s placed on the scale, and once the scale tares it will automatically start a timer. The auto-tare and timer start takes a little over a second, so if you start your machine once the screen shows 0 seconds and 0.0 grams, you’ll be able to get an accurate read-out for the time of your espresso shot. This means you have time to place your cup and start the extraction process before the timer begins, so this is a good mode to use if you like to have your shots timed from when you start the extraction.
When I was using the manual pre-infusion trick for the Gaggia Classic Pro, I found this setting useful because I knew how long I was pre-infusing before switching off the steam valve.
The other setting I used for this scale was mode 5, which will automatically tare when you place a cup on the scale just like mode 2, but the timer won’t start until the first drops of espresso hit your cup. If you prefer to compare extraction times from when espresso starts coming out of your portafilter as opposed to when the extraction process first starts, this mode lends itself to that process.
There are a total of six modes on the scale that all have different uses so you can choose a mode that meets your specific brewing preferences. Here are the main mode functions, highlights, and reasons they may be best for use:
- Mode 1 – Fully manual. If you want complete control over when the timer starts and when your scale tares, this is the setting for you. I personally used this setting when measuring coffee while adjusting the timer on my grinder, though it can work for a range of applications in the brewing process.
- Mode 2 – Auto-tare and an auto-timer that both start when you put a cup on the scale.
- Mode 3 – Auto-tare that starts when you place your cup on the scale, and a manual timer that will start when you press the timer button.
- Mode 4 – Auto-tare only. When this mode is chosen, the timer is disabled entirely.
- Mode 5 – Auto-tare that starts when you put a cup on the scale and an auto-timer that starts when the first drips of espresso hit your cup.
- Mode 6 – This mode is designed for pour over brewing, so in this mode, the scale will auto-tare when you place your brewing vessel on it so you can measure out your grounds, then you will manually tare is when you’re ready to start brewing and the timer will start when you begin adding water to your brewer. Brewista does offer a scale designed for pour over brewing as well if one pour over setting isn’t enough for your needs.
I did find that I needed to play with the different modes to get a hang of them, but once I had them fully figured out it was no problem using them. I was going for a 1:2 ratio with 16g in and 32g out, and the Smart Scale II’s built-in timer was helpful while dialing in to figure out whether my shots were pulling too fast or too slow.

Pulling a shot on the Gaggia Classic Pro using the Brewista Smart Scale II.
As a beginner to the world of espresso, I’m still refining my skills and process. Being able to have concrete measurable factors, like a shot’s run time, to figure out if I need to dial in coarser or finer was very helpful, and the automatic settings on this scale helped me not to miss the vital step of starting the timer and taring my scale before pulling a shot. I liked the reliability of this scale once I figured out exactly how to take advantage of the features, and I pulled some great shots once I used it to dial in.
In terms of appearance, this scale is small and sleek, making it easy to store out of sight but styling enough to be left on your counter if it’s more convenient for your setup. There is a protective cover made out of clear plastic that can fit over the entirety of the scale, preventing scratches on the surface and screen of the scale while not in use. The rechargeable battery is also a great feature of this scale – it charges using a USB-C cable, which is common enough that you already have one floating around your home, though one is also included in the packaging. The battery life is pretty good as well because the scale automatically turns off after 180 seconds (though this is programmable and can be changed to a shorter or longer amount of time), so you won’t have to charge it constantly. I’ve used the scale to pull about 10-15 shots of espresso as well during the process of dialing in my grinder, and the battery is still going strong.
One last note about using this scale with the Gaggia Classic Pro is that there isn’t a huge clearance between the scale and the portafilter. I needed to use a shorter espresso cup to make sure that it fit, and the NotNeutral espresso cup was the perfect height. It slid in the space between the portafilter and the scale like Cinderella putting on her glass slipper, though a slightly taller espresso glass would work too with some slight adjusting to get it in place. With these slightly taller espresso cups I had to remove the scale then the cup after pulling the shot to make sure I didn’t spill any espresso.
Frothing With Brewista Pitchers
Whole Latte Love carries two different types of Brewista pitchers, the Nasty Jug and Precision Frothing Pitchers. Both pitchers have handles that are comfortable to hold and help with stability and are designed for durability and longevity, but they present their own specific features that might make you prefer one over the other. We carry two sizes of each of these pitchers, though I mainly used the smaller pitchers because I was making smaller lattes with just a double shot of espresso.

The Brewista Precision Frothing Pitcher in action.
Brewista Precision Frothing Pitcher
-
 The Brewista Precision Frothing Pitcher incorporates a stainless steel body with features like a competition-inspired “V” spout and thermometer sticker to help beginners and baristas alike with pouring the latte art of their dreams.

As a beginner to steaming milk, I definitely found myself favoring the Precision Frothing Pitcher. This pitcher features a temperature sticker on the bottom to help make sure that you know when you’re around the ideal temperature for your steamed milk, which is 140 degrees Fahrenheit. The sticker starts at 113 degrees Fahrenheit, and I found it very helpful since I don’t have any experience with the right timing for steaming milk or how to tell when the milk is hot enough. The only thing I struggled with at first was figuring out the right way to hold the pitcher, turn the steam valve’s knob, and see the temperature sticker.

My first few trials with this pitcher I found myself fumbling with hand placement, though that could easily be a product of my inexperience with steaming milk. After those few trials, I found that the milk didn’t heat up enough to register on the thermometer until about 30 seconds into steaming, so I could focus on my technique and make sure I was getting a whirlpool effect before looking to the temperature sticker to figure out whether or not the milk was fully heated.
The Brewista Nasty Jug
-
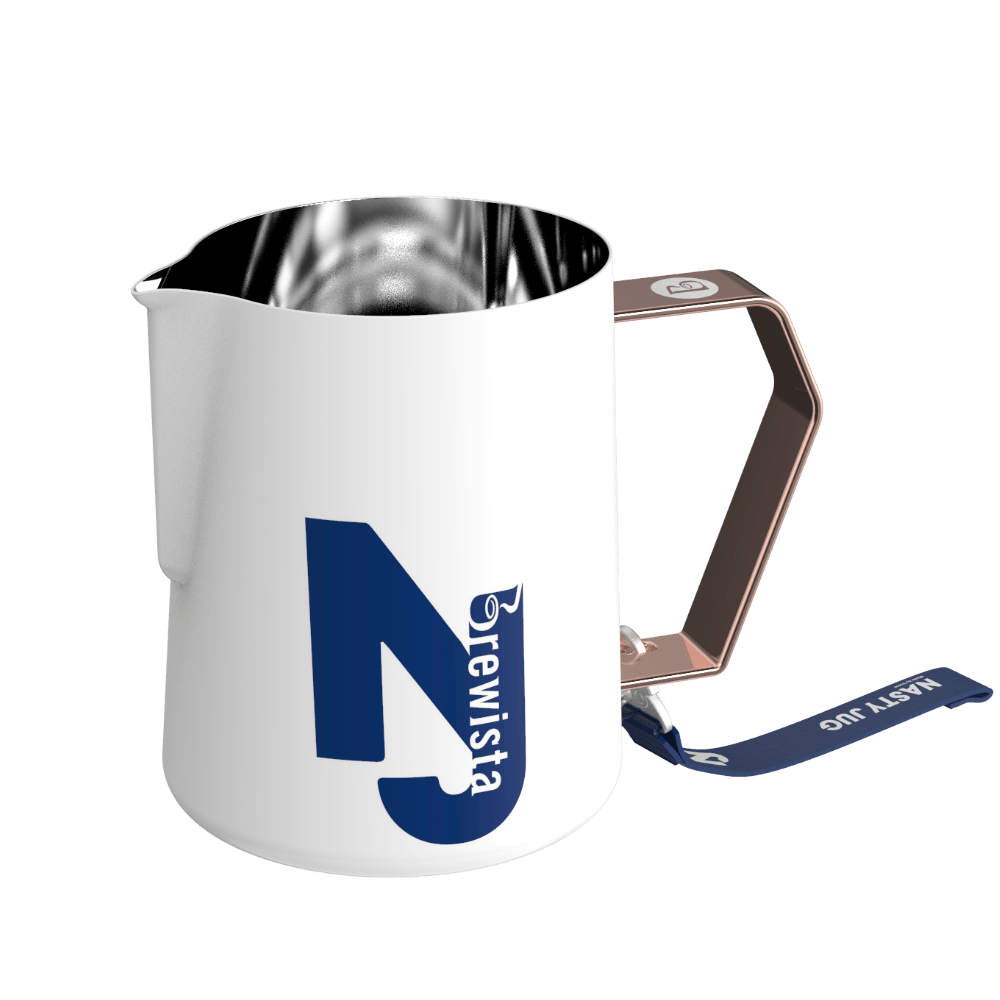 With a bold name and even bolder design, the Brewista Nasty Jug with Irvine Quek, 400 ml, is an innovative stainless steel milk frothing pitcher capable of helping coffee connoisseurs craft delicious and beautiful latte art.
 -
 With a bold name and even bolder design, the Brewista Nasty Jug with Irvine Quek, 600 ml, is an innovative stainless steel milk frothing pitcher capable of helping coffee connoisseurs craft delicious and beautiful latte art.


The Nasty Jug was designed in collaboration with Irvine Quek, the two-time winner of the World Latte Art Competition. I personally love the look of the jug – the bold matte white and blue as well as the gold handle looks striking next to the Gaggia Classic Pro, and the benefits of this pitcher don’t stop with its looks. The spout of this pitcher is designed to help with precision pouring for latte art, though I will admit I’m more at the stage in my latte-making journey where I’m looking for the right texture to my milk and not trying to pour any art. The angled handle does allow for a comfortable hold that made pouring easier, and I noticed a lot of control over the flow of steamed milk out of this pitcher. Though I’m not ready to start making intricate latte art, I can see how a more experienced latte artist would be able to make some interesting designs with the Nasty Jug.

Pouring with the Brewista Nasty Jug.
In Conclusion
Overall, I really enjoyed the experience of using the Brewista products to brew espresso and steam milk. Once I got through the learning curve of working with an espresso machine for the first time, I found that the features that Brewista added to their products were especially helpful in brewing consistent lattes that tasted delicious. I enjoyed that the Smart Scale II had so many different modes to choose from so I could figure out which one I personally liked using while figuring out my preferred method of pulling shots from the Gaggia Classic Pro.
When it comes to steaming milk, if you’re a complete beginner like me, I would recommend the Precision Frothing Pitcher to help make sure you’re in the right temperature range every time. However, if you have more than a few days of experience, the Nasty Jug is also a great option for precision pouring since it’s designed to help make creating latte art easier.
To stay up to date when we add new products to our collection, make sure to keep up with us on Instagram, Facebook, Twitter, and YouTube, and sign up for our mailing list. If you’ve tried out any of these products, make sure to leave a review on the product page so that others can hear about your experience!